If you want, for example, to print an email document, open it first.
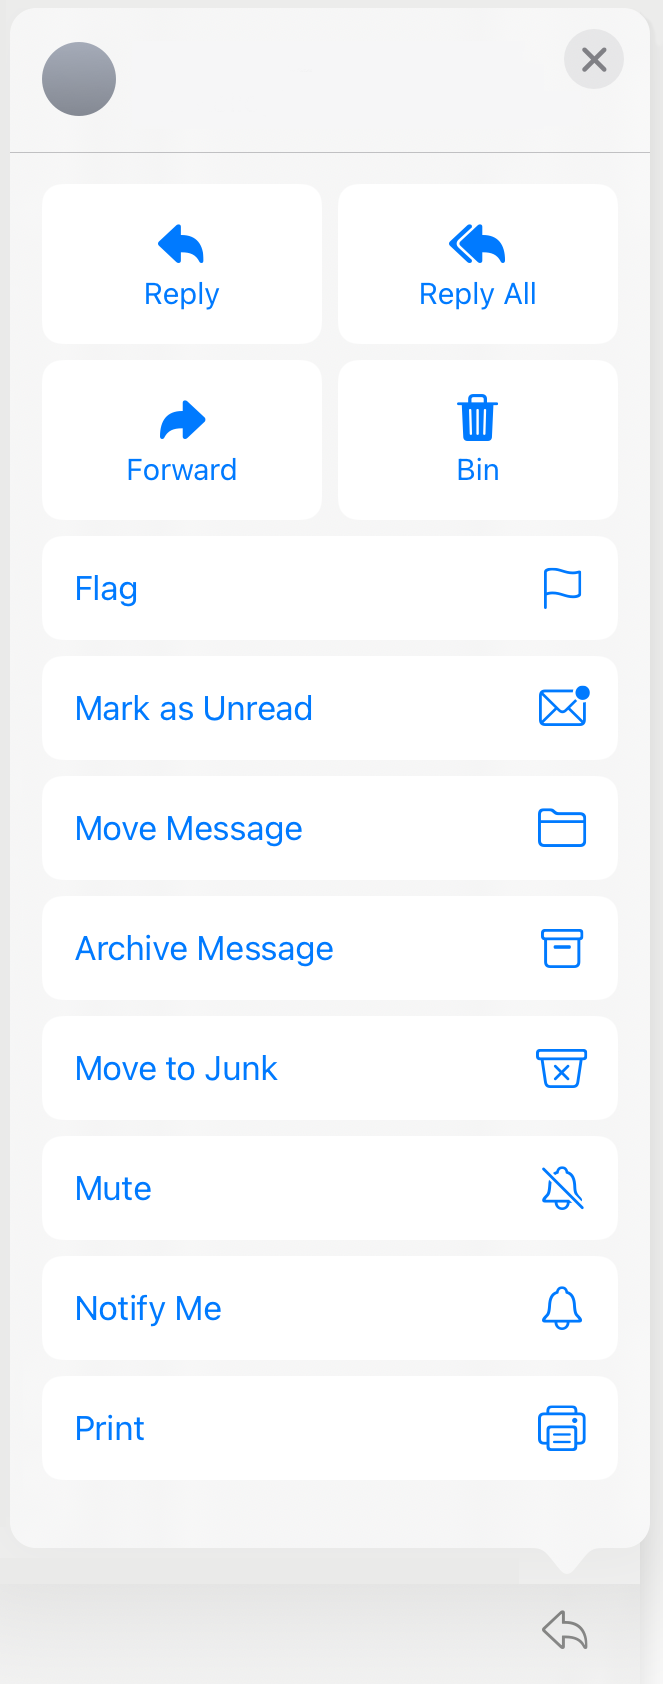
Then, tap for the ‘Share Sheet’ icon.
In the list, look for the ‘Print’ button and tap it.
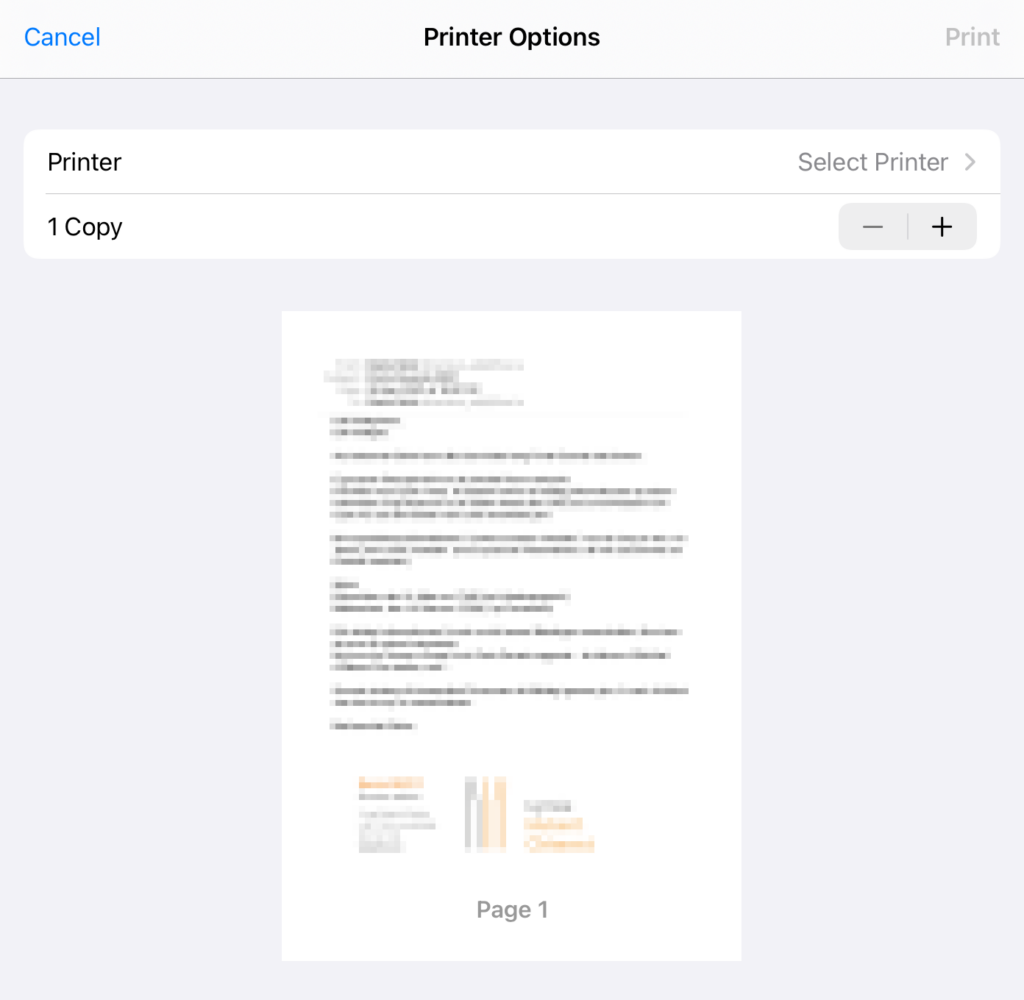
As you can see, there is no printer selected yet.
Tap ‘Select Printer’.
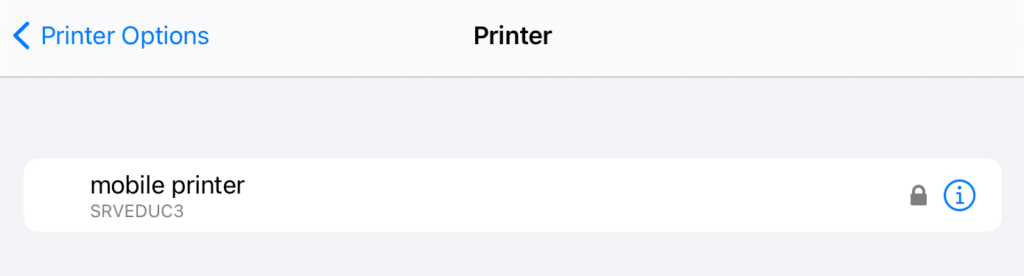
After a few seconds (and only if you are connected to our school’s Wifi), it should show you this printer.
Tap it.
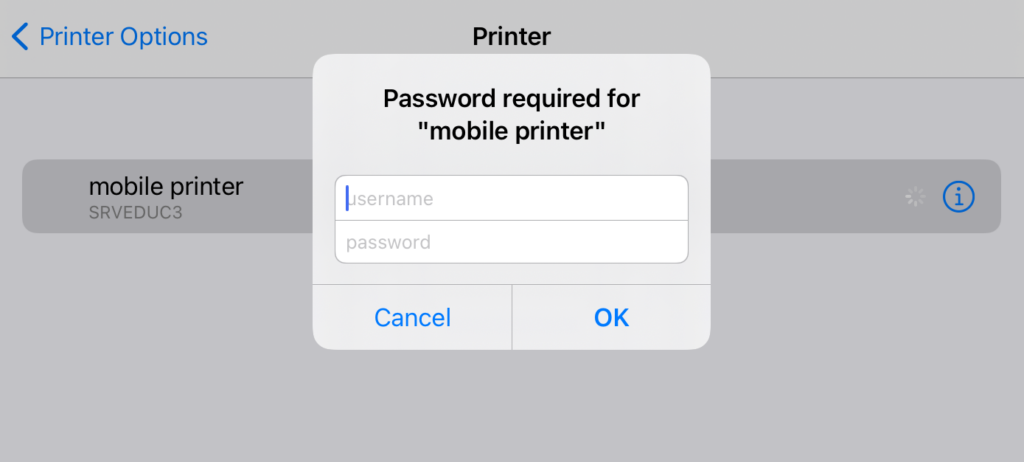
When it asks for your credentials, use your IAM and its matching password. Then tap ‘OK’.
For example:
ABCDE123
mypassword
Usually, you should only have to do this once and only for your first print.
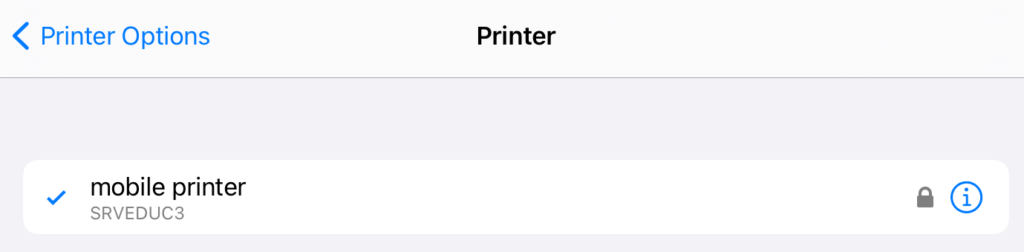
If it works, it will get you back to this screen and put a tick next to the printer.
Tap ‘Printer Options’.
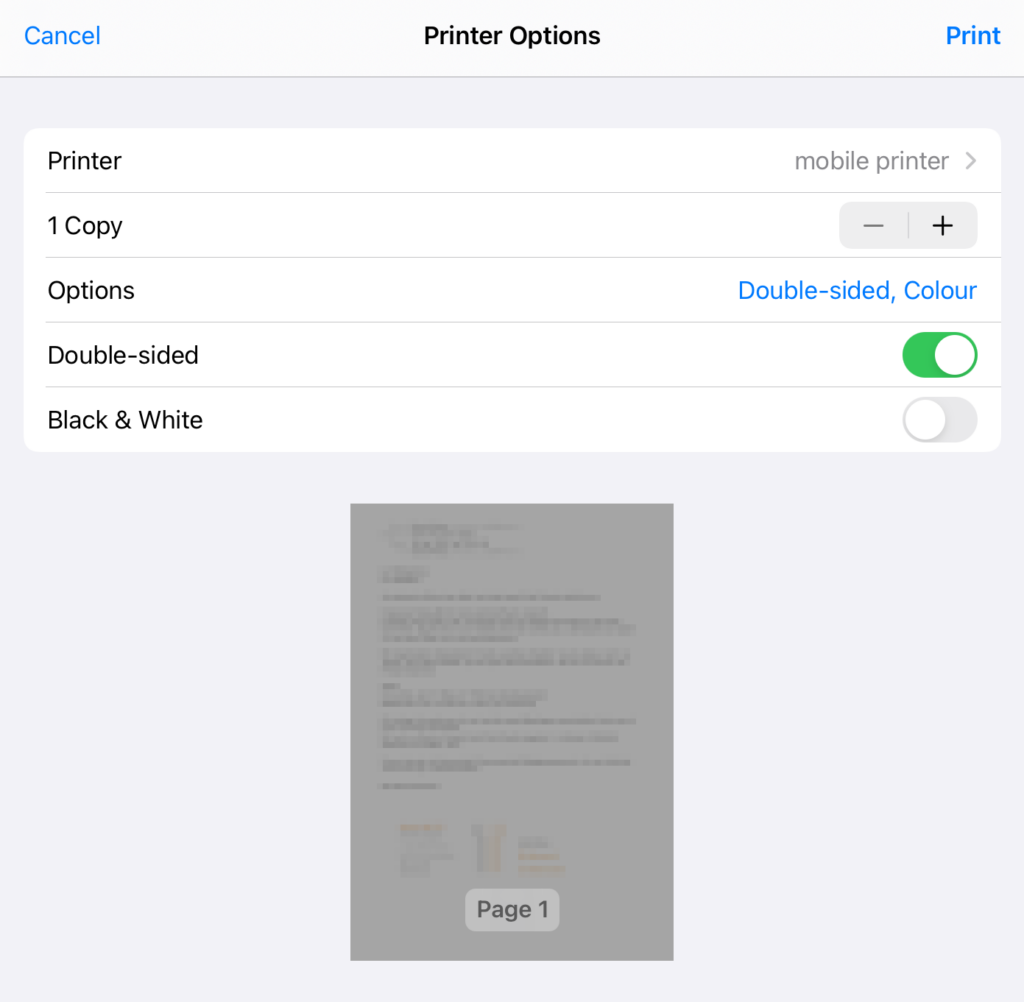
Verify the settings, then tap ‘Print’.
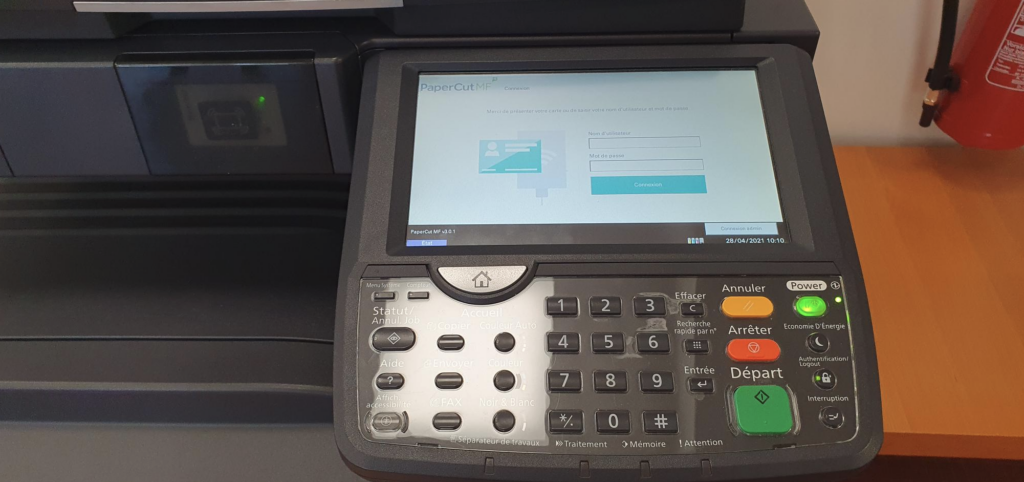
Time to find your favourite photocopier 😉
Log in with your teacher-card, as usual.
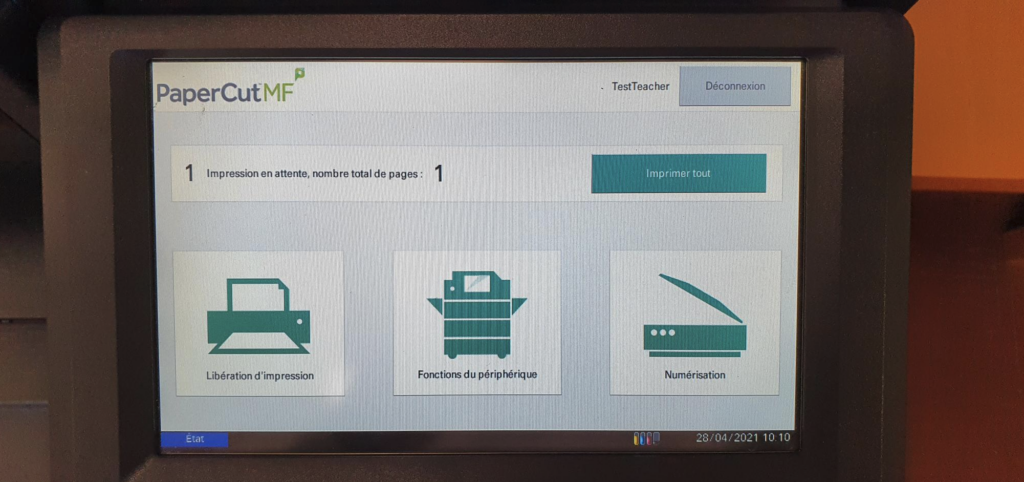
Now, you can see your printjob waiting for instructions.
A) ‘Imprimer tout’ will print everything from a single account. If everything you want to print is for the same class, use this. It will then skip the next step.
B) ‘Libération d’impression’ will let you choose which account to print from for each print job.
For our example here, we went with B) Libération d’Impression.
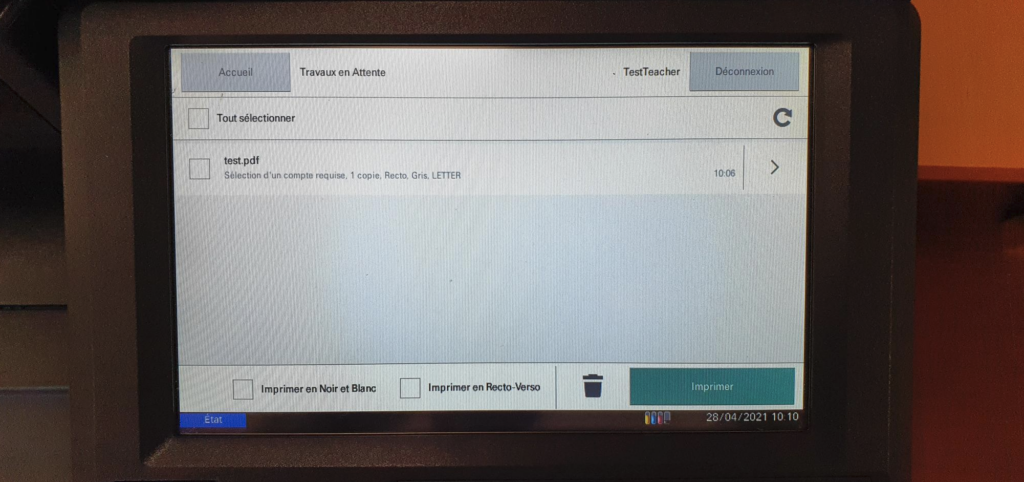
Tick the documents you want to print, then tap the arrow > on the right tell the machine how you want them printed and with which account (class or personal).
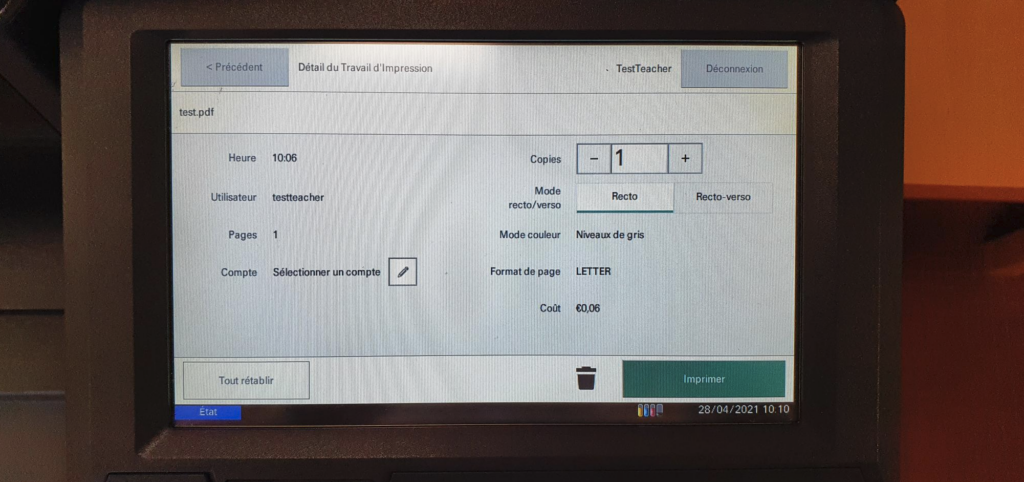
Here, you can set all kinds of options.
To set the account you want to print from, tap the pencil icon in the lower left area.
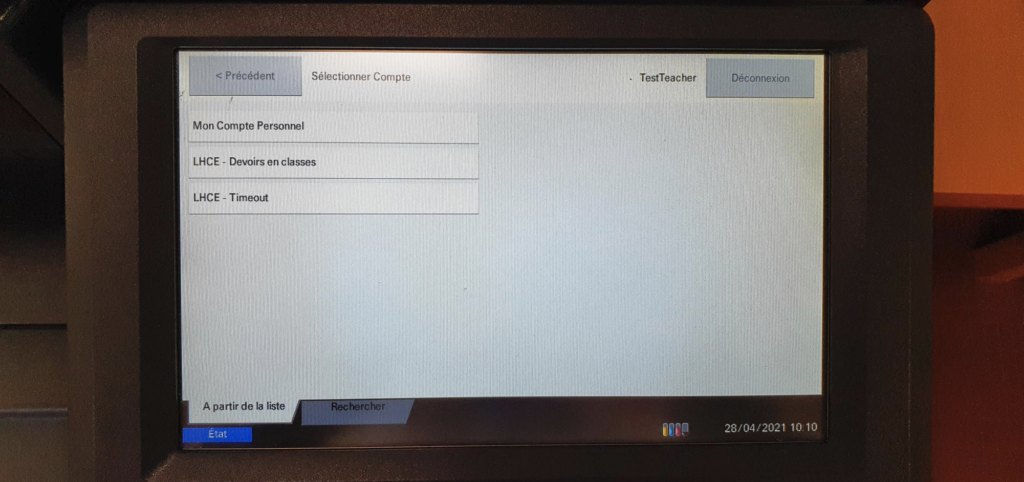
Select the class or personal account you want to print from.
When you have selected your account, it will take you back to the previous screen. Once there, simply tap ‘Imprimer’.