
First, at the bottom of the Teams app, tap ‘Calendar’.
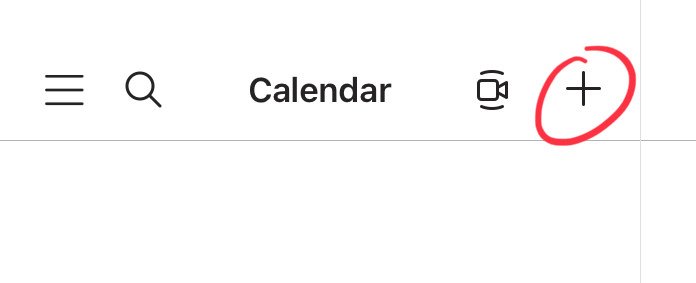
Then, on the left-hand side, at the top, tap the + icon to start scheduling a meeting.
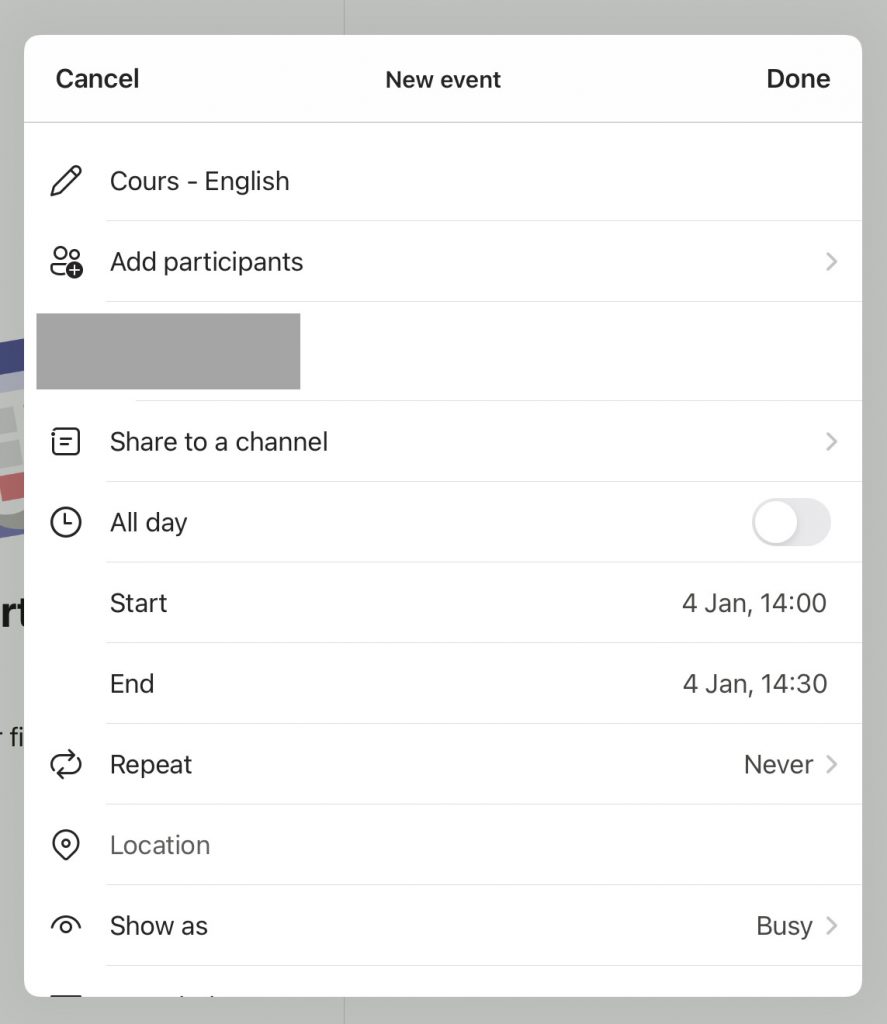
You will be presented with this screen. Let’s call it the ‘config screen’.
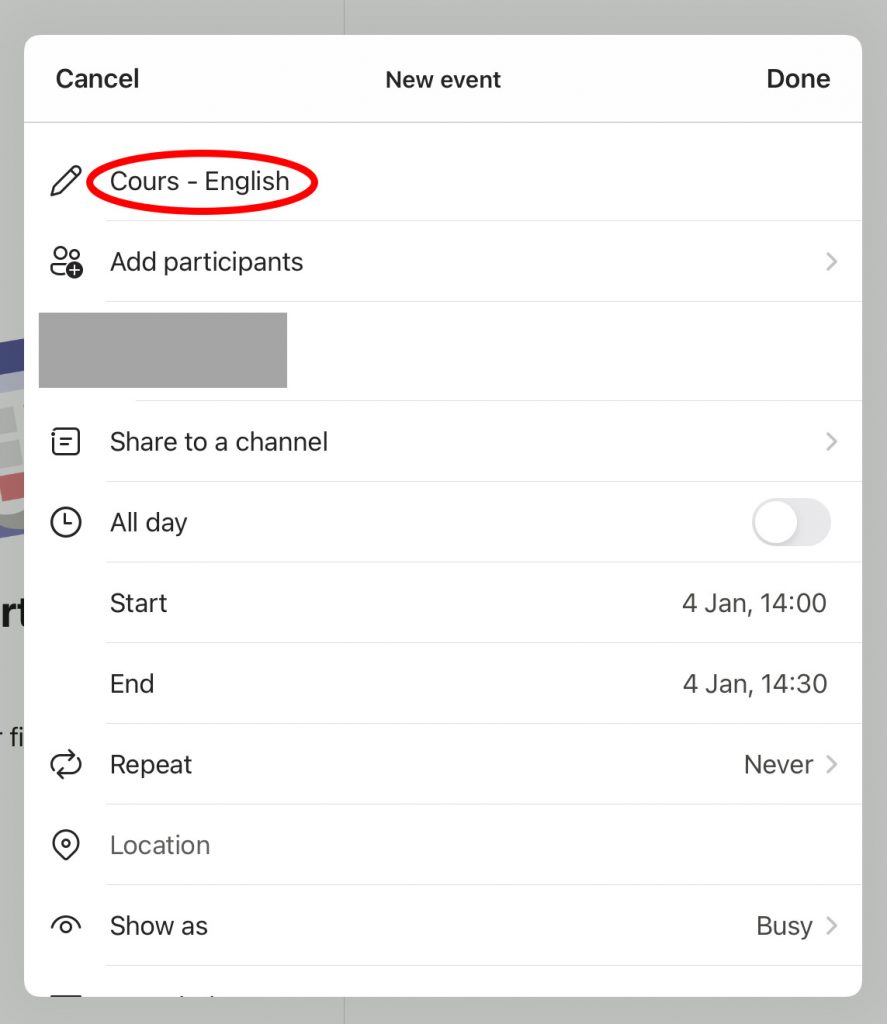
The first thing to do is to give the meeting a name. Here, we chose something simple.
Tap the screen and type in your meeting name.
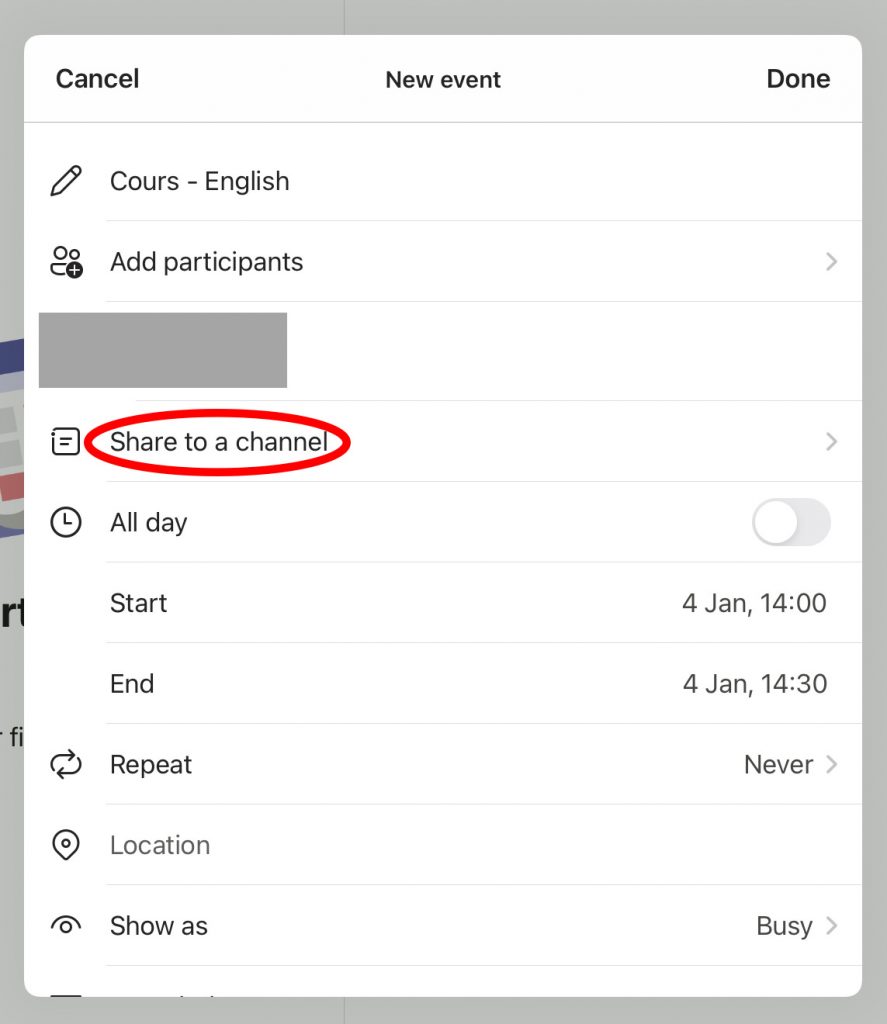
Next, we need to specify who (=which class) we want to invite to the meeting. Tap ‘Share to channel’ to choose a team from your list of teams.
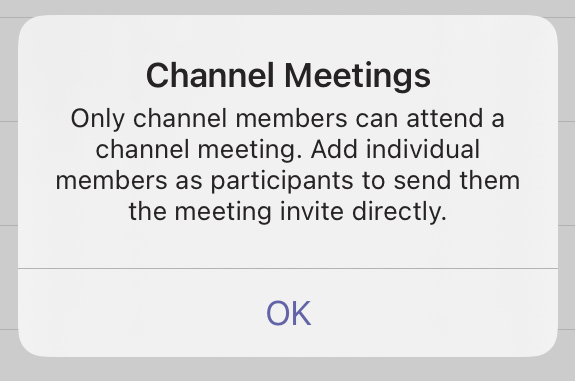
Teams will probably greet you with this message, which you can happily ignore. Simply tap ‘OK’.
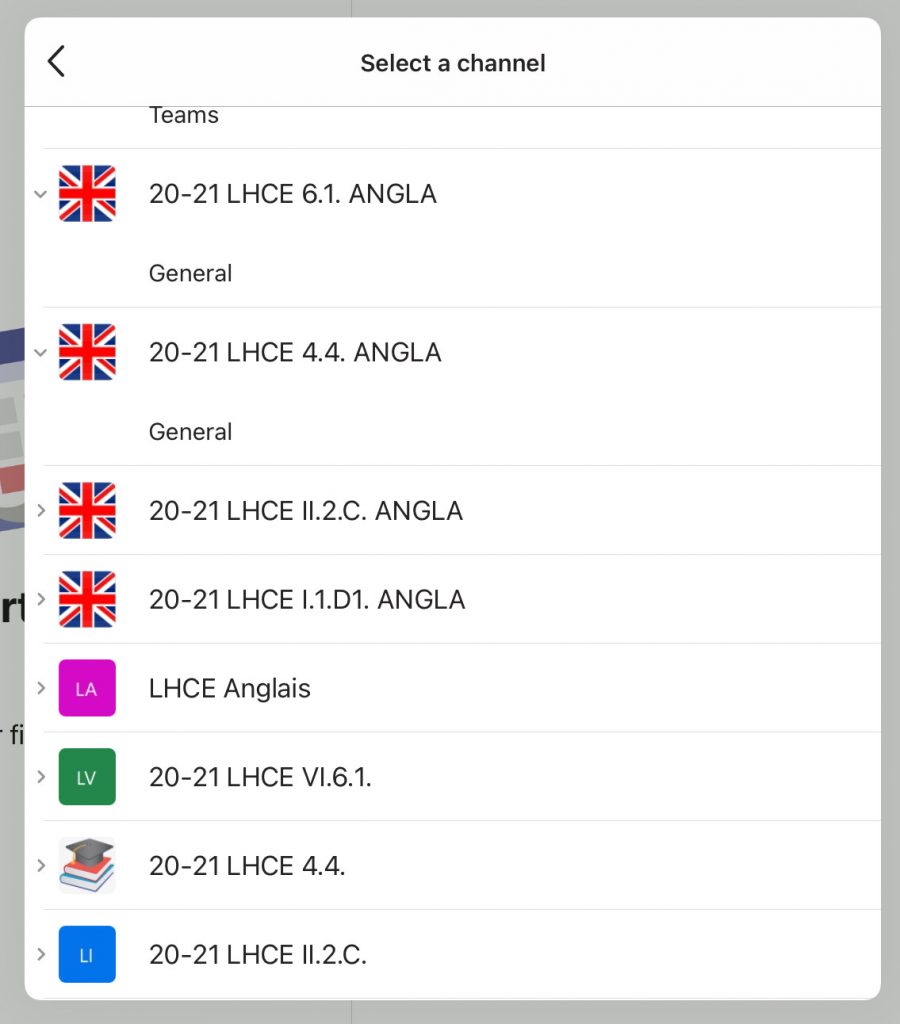
From your list of teams, choose the one you want to schedule the meeting with. Tap the ‘General’ Channel (or another, if you have more than one channel) that belongs to that team.
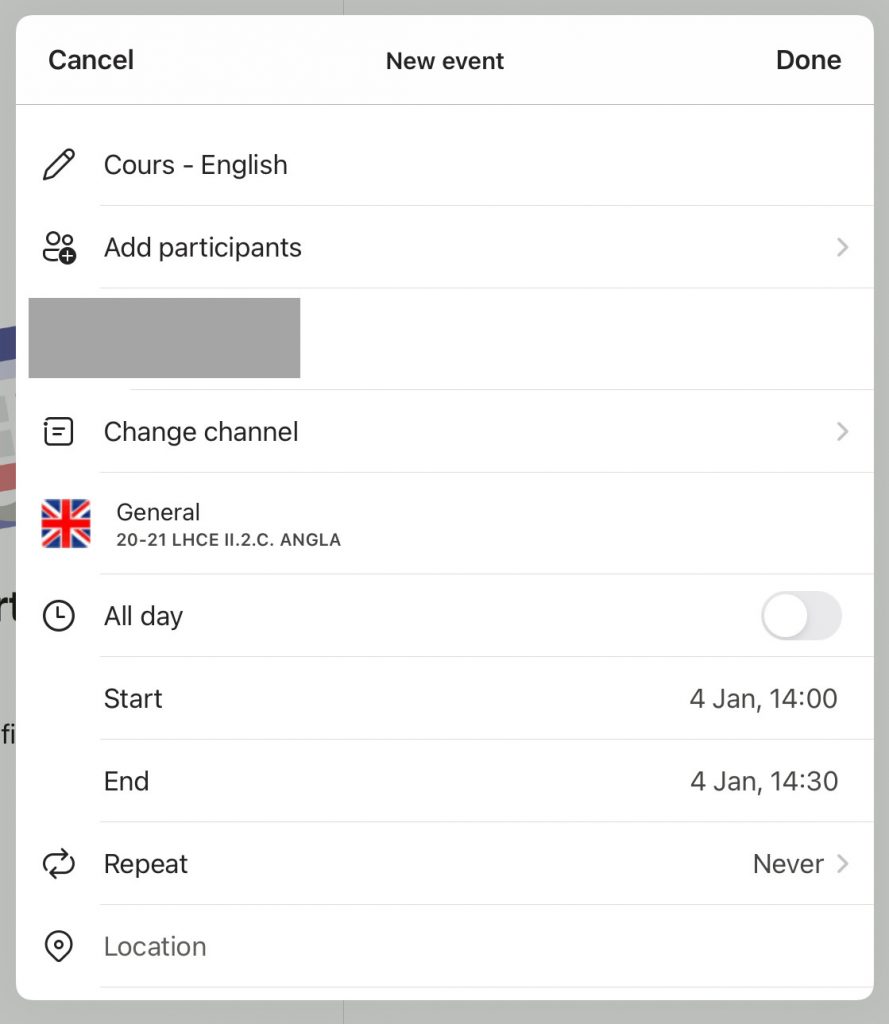
When you are back in the config screen, you can see that your selection has been taken into account.
Next up: the date and time.
Tap the ‘Start’ and choose when you want your meeting to begin.
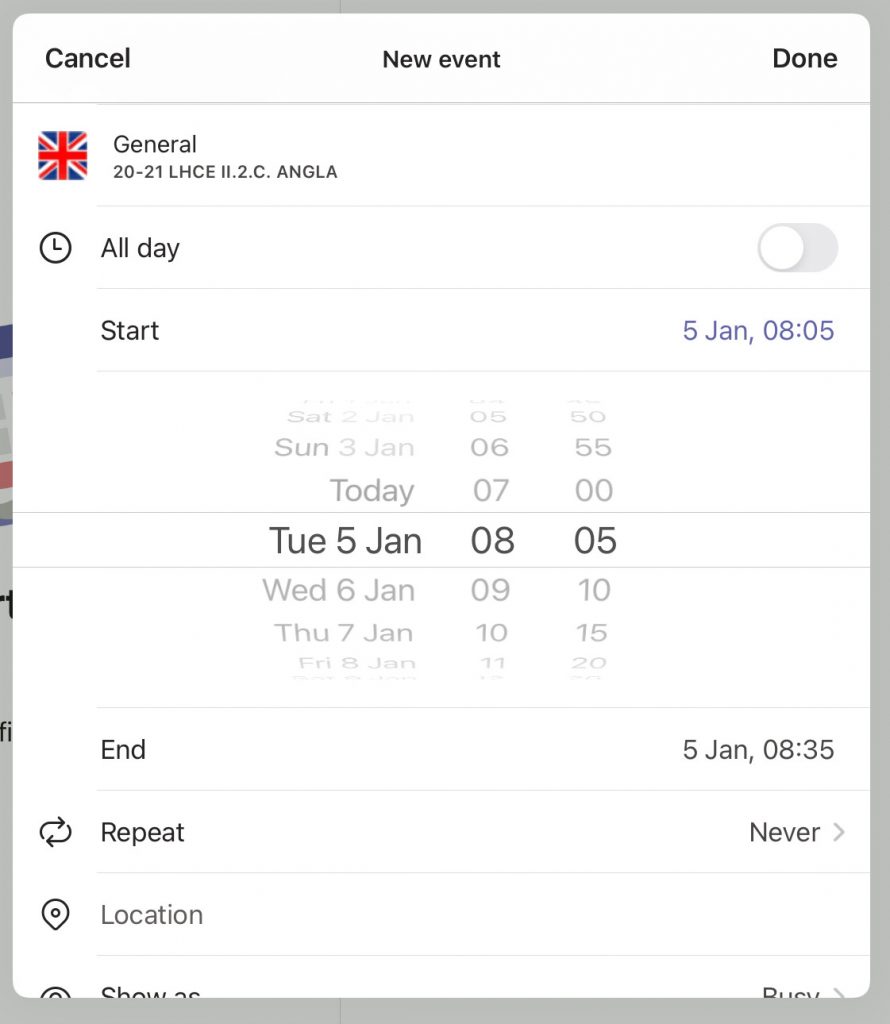
When you are satisfied, tap ‘End’.
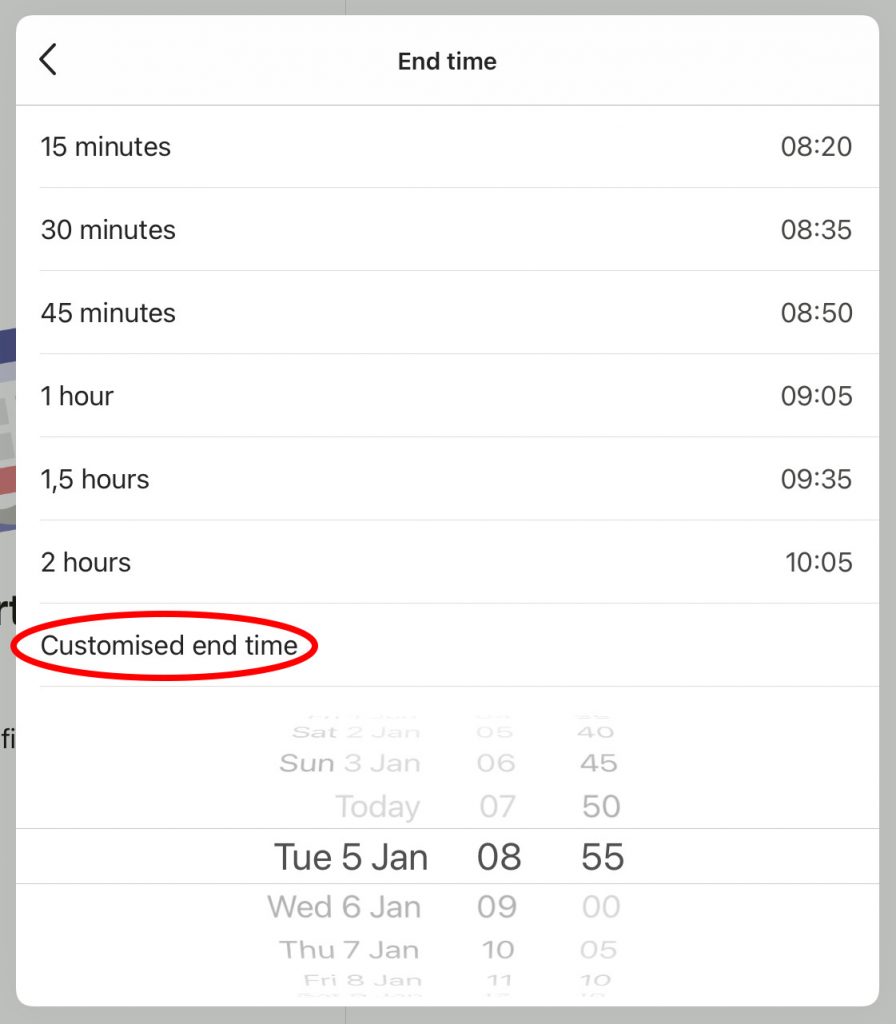
Teams makes a few suggestions for meeting durations but of course, our 50 minute blocks aren’t available.
Tap ‘Customised end time’ and then proceed to choose when you want your meeting to end, then tap the ‘back’ arrow at the top.
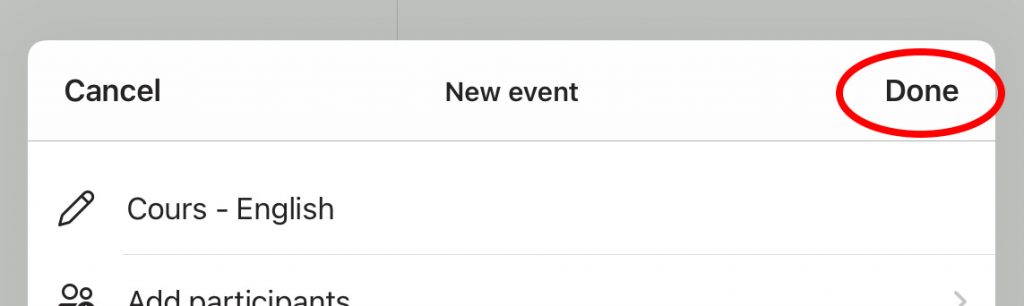
Back in the config screen, verify that your information is correct, then tap ‘Done’.
At this point, all members of the channel you selected will receive an email with the meeting details.
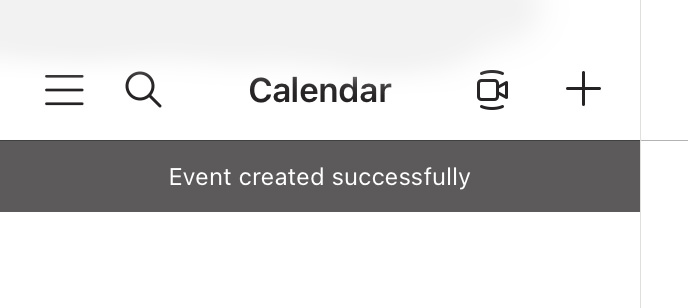
Teams will confirm your work with this message.
NOTE: if Teams is being silly again, it won’t show your meeting in the calendar, even after this. However…
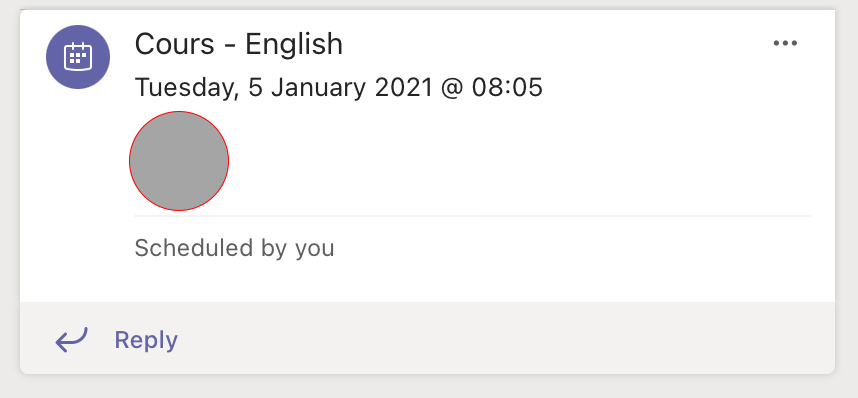
…you can find it in the teams channel that you scheduled it in.
There, you can tap the ‘…’ in the upper right corner.
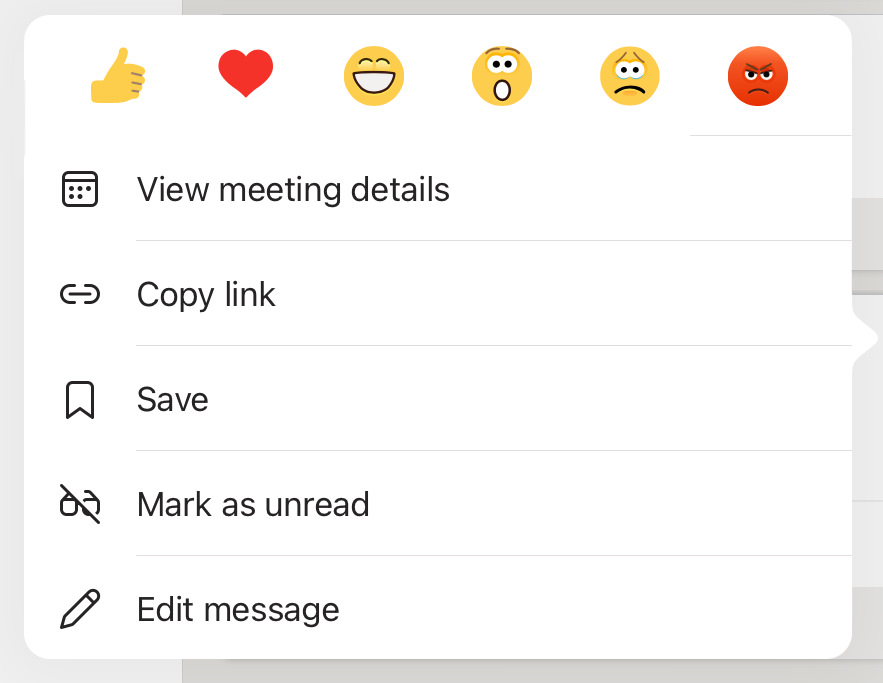
Here, you can then tap ‘View meeting details’ if you want to set restrictions.
Follow this guide to do so.